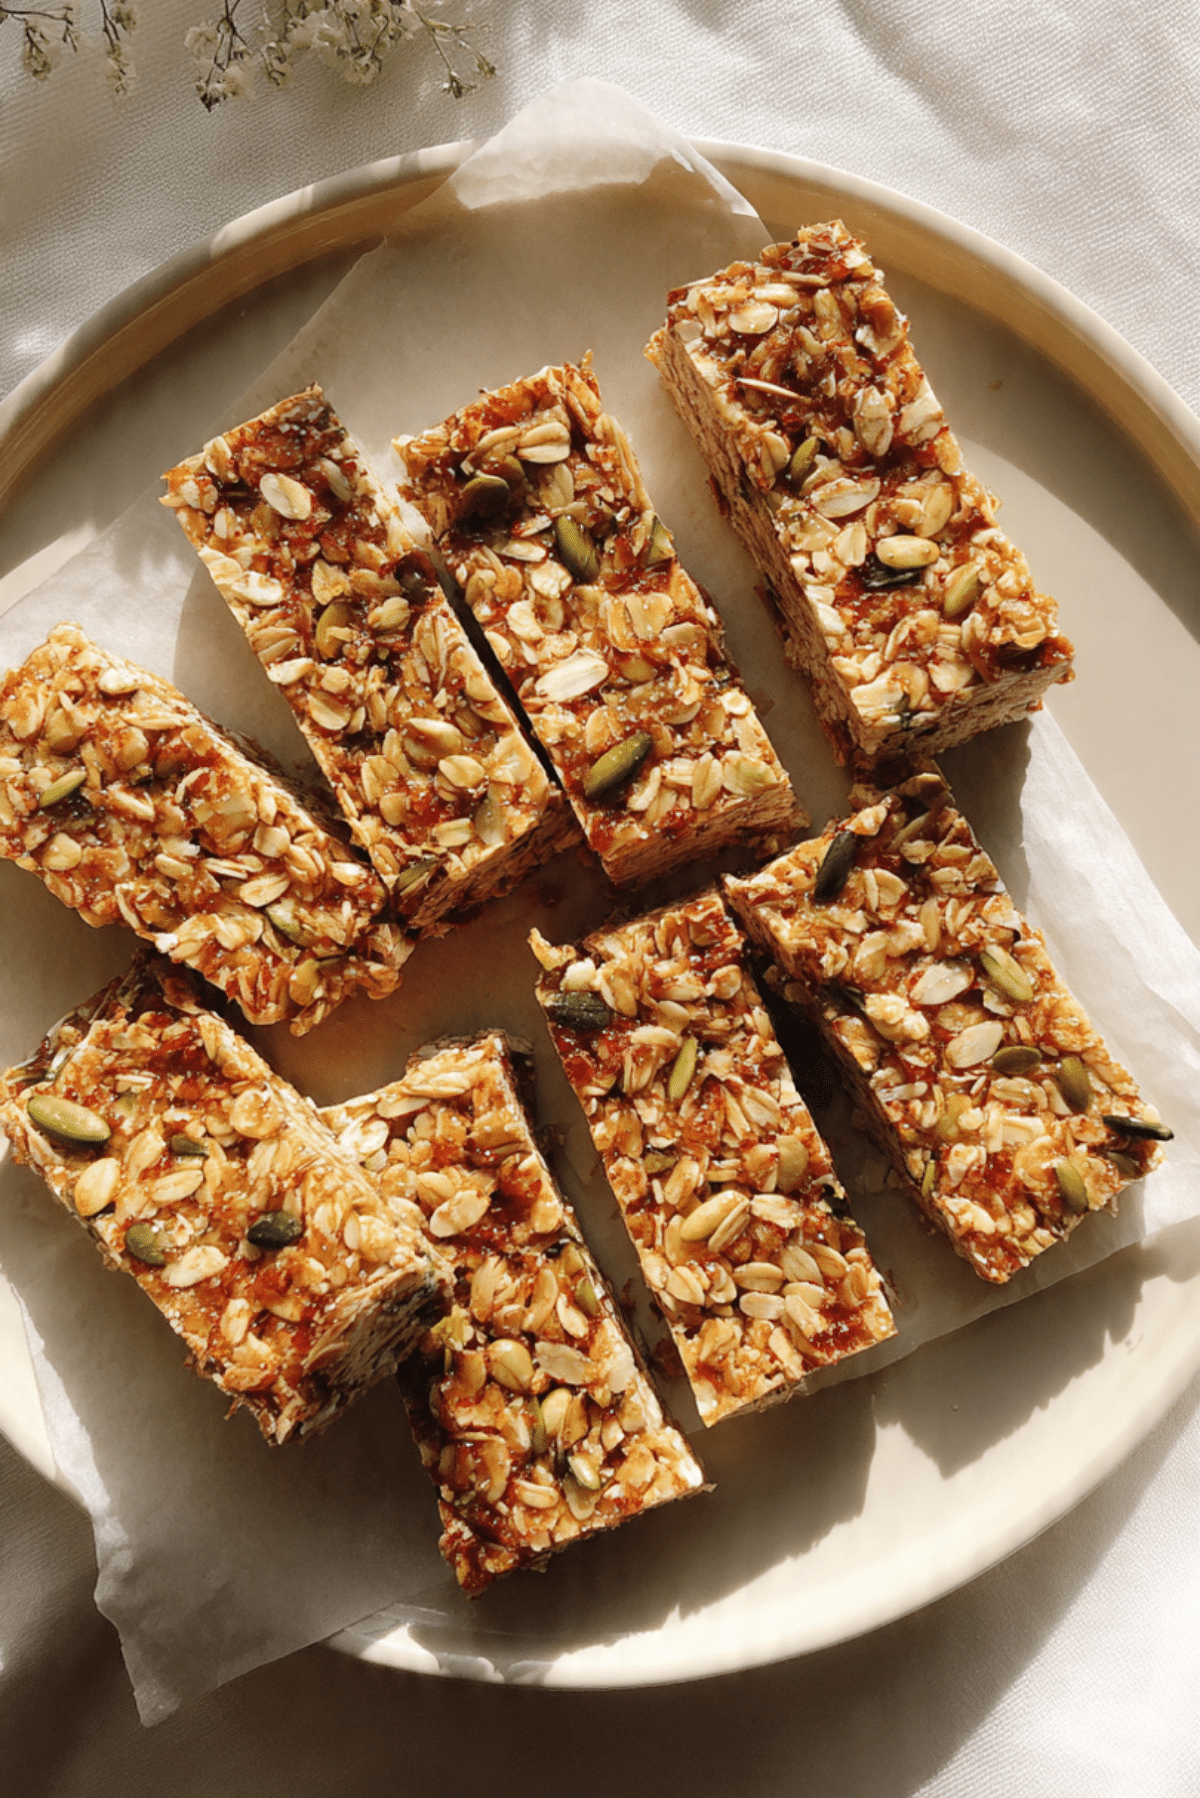
Granola Bars
There’s something undeniably comforting about having a stash of homemade granola bars waiting for you in the kitchen. With their chewy texture, satisfying crunch, and natural sweetness, these little bars are the kind of snack that hits all the right notes. Whether you need a mid-morning pick-me-up, a quick lunchbox filler, or a healthy bite after a workout, these granola bars are about to become your go-to. Trust me, they’re worth every bite.
Behind the Recipe
This granola bar recipe was born out of necessity on a cozy Sunday morning, when I opened the pantry and realized we were low on snacks. I threw together some oats, a swirl of peanut butter, a handful of nuts, and a drizzle of honey. The result? A chewy, nutty, lightly sweet bar that everyone in my family fell in love with. It became our homemade classic, tweaked over time, but always the same heartwarming blend of goodness.
Recipe Origin or Trivia
Granola itself traces its roots back to the late 1800s in the United States, originally created as a health food. Granola bars came into popularity in the 1970s as a portable, convenient twist on the classic breakfast cereal. They’ve since become a staple snack worldwide. Today, we see endless variations, but at their core, granola bars remain a delicious celebration of oats, nuts, and natural sweeteners.
Why You’ll Love Granola Bars
This snack isn’t just tasty, it’s practical too. Here’s why you’ll want to make it over and over again:
Versatile: Add chocolate chips, seeds, or swap nuts based on what’s in your pantry.
Budget-Friendly: Uses simple, affordable ingredients you likely already have at home.
Quick and Easy: Comes together in under 10 minutes of prep.
Customizable: Adjust the sweetness, texture, or mix-ins to suit your tastes.
Crowd-Pleasing: Great for adults and kids alike—perfect for school or work.
Make-Ahead Friendly: Stays fresh in the fridge all week, and even longer in the freezer.
Great for Leftovers: Any leftover bits of nuts or dried fruits can go right in.
Chef’s Pro Tips for Perfect Results
Let’s get those granola bars just right. Here are a few secrets from my kitchen:
- Lightly toast the oats and nuts for a deeper, richer flavor.
- Warm the peanut butter and honey together before mixing to help coat everything evenly.
- Press the mixture firmly into the pan using the bottom of a glass or spatula for bars that hold together.
- Chill well before cutting to avoid crumbling.
- Store in parchment between layers to keep them from sticking.
Kitchen Tools You’ll Need
You won’t need anything fancy. Just these basics will do:
Mixing Bowl: To combine all your ingredients.
Saucepan or Microwave-Safe Bowl: To gently warm the wet ingredients.
Spatula: For mixing and pressing the mixture evenly.
8×8-inch Baking Pan: The perfect size for thick, chewy bars.
Parchment Paper: Makes it easy to lift out and slice cleanly.
Sharp Knife: To cut clean edges once the bars are chilled.
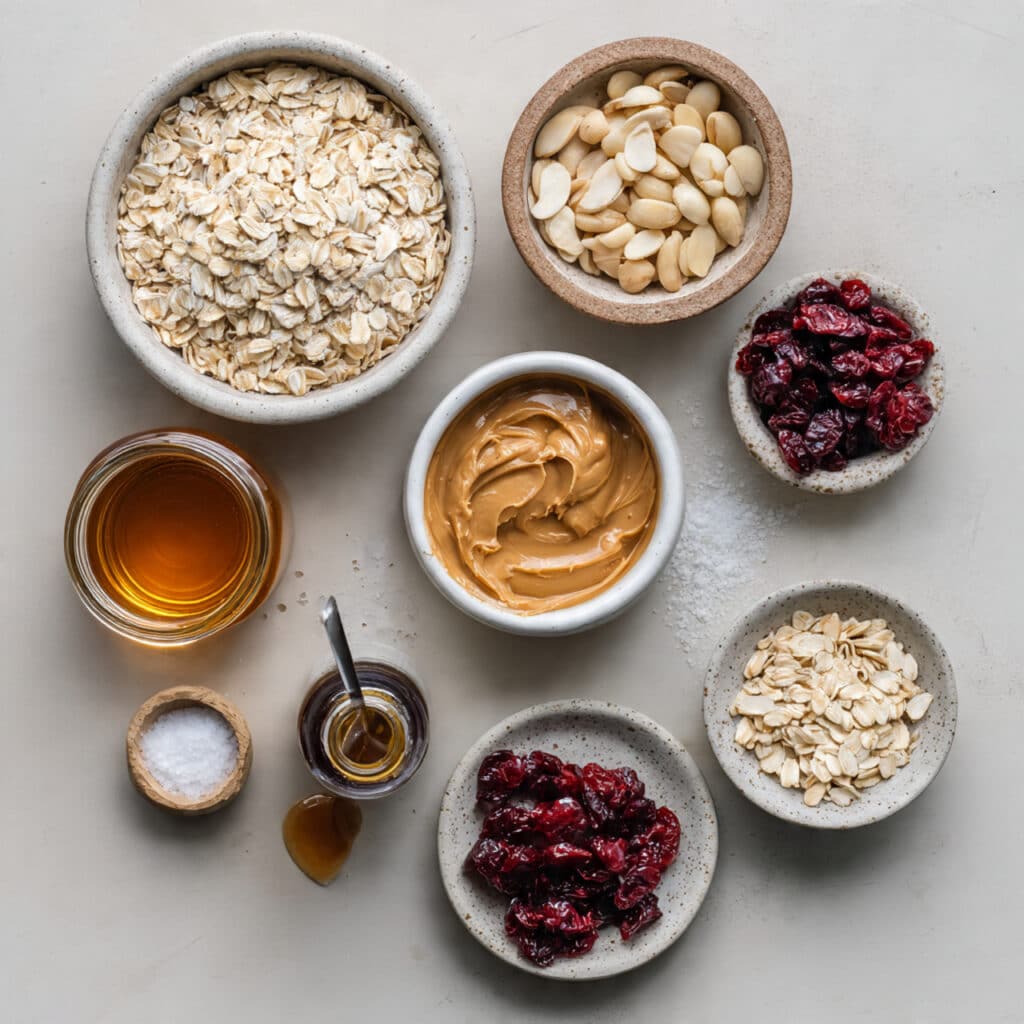
Ingredients in Granola Bars
These ingredients come together in the most delicious harmony, balancing chewy, crunchy, salty, and sweet. Here’s what you’ll need:
- Rolled Oats: 2 cups. Acts as the hearty, chewy base of the bars.
- Peanut Butter: 1/2 cup. Binds the ingredients and adds creamy richness.
- Honey: 1/3 cup. Naturally sweetens and helps everything stick together.
- Chopped Almonds: 1/2 cup. Adds nutty crunch and depth.
- Dried Cranberries: 1/3 cup. Gives a pop of tartness and chew.
- Vanilla Extract: 1 teaspoon. Rounds out the flavor with a warm note.
- Salt: A pinch. Enhances all the other flavors.
Ingredient Substitutions
Don’t have everything on hand? Here are a few easy swaps:
Peanut Butter: Almond butter or sunflower seed butter.
Honey: Maple syrup or brown rice syrup.
Chopped Almonds: Walnuts, pecans, or pumpkin seeds.
Dried Cranberries: Raisins, chopped dried apricots, or mini chocolate chips.
Vanilla Extract: A dash of cinnamon for a spiced twist.
Ingredient Spotlight
Rolled Oats: These oats are less processed than instant oats, giving the bars that hearty, chewy bite.
Honey: Not just a sweetener, honey helps hold the mixture together and adds moisture and shine.
Instructions for Making Granola Bars
Let’s get these delicious bars going. Follow these steps and you’ll have the perfect snack in no time:
- Preheat Your Equipment:
Line an 8×8-inch baking dish with parchment paper, letting the paper hang over the edges. - Combine Ingredients:
In a mixing bowl, add oats, chopped almonds, and dried cranberries. In a saucepan or microwave-safe bowl, warm peanut butter and honey until melted and smooth. Stir in vanilla and salt. - Prepare Your Cooking Vessel:
Pour the wet mixture over the dry ingredients. Stir well until everything is evenly coated. - Assemble the Dish:
Transfer the mixture into the prepared pan. Press down firmly using a spatula or the bottom of a glass to create an even layer. - Cook to Perfection:
No baking needed! Just refrigerate the pan for at least 1–2 hours until the bars are firm and set. - Finishing Touches:
Lift the chilled slab out of the pan using the parchment overhang. Place it on a cutting board. - Serve and Enjoy:
Slice into bars and enjoy immediately, or store for later snacking.
Texture & Flavor Secrets
The magic of these bars lies in their balance. The oats give chew, the nuts add a satisfying crunch, and the honey and peanut butter deliver a smooth, slightly sticky texture that holds everything together. Every bite gives you a little sweet, a little salty, and just enough richness to feel indulgent without being too heavy.
Cooking Tips & Tricks
Here are a few little nuggets of wisdom to make this recipe even better:
- Use a wet spoon or spatula when pressing the mixture to prevent sticking.
- Double the batch and freeze half for later.
- Chop nuts finely if you prefer a more uniform bite.
What to Avoid
Even simple recipes have a few traps. Here’s how to steer clear:
- Don’t skip chilling time, or your bars may fall apart when cutting.
- Avoid overloading with sticky or wet ingredients which can prevent the bars from setting properly.
- Don’t forget the parchment paper—it makes removal and slicing a breeze.
Nutrition Facts
Servings: 12
Calories per serving: 210
Note: These are approximate values.
Preparation Time
Prep Time: 10 minutes
Cook Time: 0 minutes
Total Time: 2 hours (including chilling time)
Make-Ahead and Storage Tips
These granola bars are ideal for prepping ahead. Once sliced, store them in an airtight container in the fridge for up to 7 days. You can also freeze them—just separate layers with parchment paper and thaw as needed. They’re perfect for tossing into lunchboxes or grabbing on the go.
How to Serve Granola Bars
Pair them with your morning coffee, tuck them into a kid’s lunch, or break one into chunks over yogurt for a quick parfait. They’re also great with a glass of cold almond milk or as a hiking snack.
Creative Leftover Transformations
Got leftover bars? Here’s how to reinvent them:
- Crumble over smoothie bowls or oatmeal for crunch.
- Chop and stir into muffin or pancake batter.
- Layer into a dessert parfait with yogurt and fruit.
Additional Tips
- Toasting the oats and nuts in the oven for 5–7 minutes adds great depth of flavor.
- Add a sprinkle of sea salt on top for that sweet-salty contrast.
- If you love chocolate, stir in a few mini chocolate chips once the mixture has cooled slightly.
Make It a Showstopper
Presentation can make all the difference. Slice your bars cleanly and stack them on a rustic wooden board. Drizzle a bit of extra honey on top or wrap individual bars in parchment and twine for a charming, giftable touch.
Variations to Try
- Chocolate Drizzle: Melt dark chocolate and drizzle over the top before chilling.
- Tropical Twist: Add shredded coconut and chopped dried pineapple.
- Spiced Chai: Mix in cinnamon, nutmeg, and a dash of cardamom.
- Protein Boost: Stir in a scoop of your favorite protein powder.
- Seed Power: Add sunflower, chia, or flax seeds for extra texture and nutrition.
FAQ’s
Q1: Can I make these granola bars nut-free?
Yes! Swap the peanut butter for sunflower seed butter and replace nuts with seeds.
Q2: Do I have to use honey?
Nope. Maple syrup or brown rice syrup work great too.
Q3: How long do granola bars last?
About 7 days in the fridge or up to 2 months in the freezer.
Q4: Can I bake these if I want a firmer texture?
You can! Bake at 350°F for 15–20 minutes for a crispier bar.
Q5: What if I don’t like dried cranberries?
Use raisins, dates, or any dried fruit you enjoy.
Q6: Are these bars gluten-free?
If you use certified gluten-free oats, then yes!
Q7: Can I reduce the sugar?
Yes. Use less honey and add a bit more nut butter to compensate for texture.
Q8: How do I stop the bars from sticking to my hands when pressing them into the pan?
Use a piece of parchment or lightly wet your hands or spatula.
Q9: Can kids help make this recipe?
Absolutely! It’s no-bake and easy enough for little hands to help.
Q10: What size should I cut the bars?
Aim for 1×3-inch rectangles for a standard size, or cut smaller squares for bite-sized snacks.
Conclusion
Making your own granola bars is one of those simple pleasures that pays off all week long. With minimal effort, you get a wholesome, tasty, and endlessly adaptable snack that you’ll feel good about eating and sharing. So go ahead, grab your oats and get mixing. Your next favorite snack is just a chill away.
Print
Granola Bars
- Prep Time: 10 minutes
- Cook Time: 0 minutes
- Total Time: 2 hours
- Yield: 12 bars 1x
- Category: Snacks
- Method: No-Bake
- Cuisine: American
- Diet: Vegetarian
Description
These homemade granola bars are chewy, nutty, and naturally sweetened with honey and peanut butter. Perfect for meal prep, snacking, or lunchboxes, they’re packed with oats, almonds, and dried cranberries for a satisfying bite anytime.
Ingredients
- 2 cups rolled oats
- 1/2 cup peanut butter
- 1/3 cup honey
- 1/2 cup chopped almonds
- 1/3 cup dried cranberries
- 1 teaspoon vanilla extract
- Pinch of salt
Instructions
- Line an 8×8-inch baking pan with parchment paper, letting the edges hang over.
- In a large bowl, combine the oats, almonds, and dried cranberries.
- In a saucepan or microwave-safe bowl, gently warm the peanut butter and honey until smooth. Stir in vanilla and salt.
- Pour the wet mixture over the dry ingredients and mix well until everything is fully coated.
- Transfer the mixture to the prepared pan. Press down firmly to create an even layer.
- Refrigerate for 1–2 hours until firm.
- Lift the chilled mixture out of the pan and cut into bars.
- Store in the fridge or freezer in an airtight container.
Notes
- Toast oats and nuts for a richer flavor before mixing.
- Use parchment between bars to prevent sticking when storing.
- Swap in your favorite dried fruits or nuts for variety.
Nutrition
- Serving Size: 1 bar
- Calories: 210
- Sugar: 9g
- Sodium: 45mg
- Fat: 11g
- Saturated Fat: 2g
- Unsaturated Fat: 8g
- Trans Fat: 0g
- Carbohydrates: 23g
- Fiber: 3g
- Protein: 6g
- Cholesterol: 0mg
Keywords: granola bars, no bake snack, healthy snack, easy granola bar recipe