Pepproni & cheese crisps
There is something ridiculously satisfying about pulling a tray of hot, bubbly crisps out of the oven and hearing that faint crackle as they cool. These little bites are salty, cheesy, crisp around the edges, and honestly hard to stop eating. The pepperoni curls just enough, the cheese turns golden in spots, and the whole kitchen smells like the best part of pizza night without the extra effort. Trust me, you’re going to love this.
Why These Crisps Deserve a Spot in Your Snack Rotation
Some snacks are fine, and then some snacks make you pause after the first bite because they hit every craving at once. These cheesy rounds bring crunch, richness, and that savory pepperoni flavor in one tiny package. They work when you want something quick after school, a fun game-day snack, or even a low carb bite that still feels exciting. And now that you can already imagine that crispy edge and gooey center, let’s dive a little deeper into what makes them so fun.
A Little Backstory Behind This Savory Favorite
These crispy bites feel modern and playful, but they borrow their charm from classic pizza flavors that people have loved for generations. Pepperoni itself became especially popular in American pizza culture, where smoky cured meat and stretchy cheese turned into a comfort food staple. This snack takes those familiar flavors and shrinks them into something smaller, crispier, and a little more snackable, which is honestly a total game-changer.
Why You’ll Keep Coming Back to These Again and Again
Once you make a batch, it becomes pretty obvious why they disappear so fast. They are simple, reliable, and easy to tweak depending on what you have in the fridge.
Versatile: These work as an afternoon snack, a party appetizer, or a crunchy side for soup and salad. They can be dressed up with dip or served plain straight from the tray.
Budget-Friendly: The ingredient list is short and familiar, which means you are not buying anything fancy or hard to find. A little goes a long way here too.
Quick and Easy: From start to finish, this comes together fast. There is very little prep, and the oven does most of the work.
Customizable: You can change the cheese blend, adjust the seasoning, or add a tiny sprinkle of herbs. It is easy to make them feel a little different each time.
Crowd-Pleasing: Salty, cheesy, crisp snacks tend to disappear first. Even picky eaters usually grab more than one.
Make-Ahead Friendly: You can bake them earlier in the day and crisp them back up if needed. That makes entertaining way less stressful.
Great for Leftovers: If you somehow have extras, they reheat nicely and still keep that satisfying bite. They are also great crumbled over salads.
Smart Kitchen Secrets for Crispier Results
A few tiny moves make a big difference here, especially since the ingredient list is so short and each one matters.
- Bake on parchment paper so the crisps lift off easily and do not stick.
- Leave a little space between each piece so the hot air can circulate and crisp the edges properly.
- Use finely shredded cheese so it melts evenly and settles neatly over each slice.
- Let them cool for a few minutes before moving them, because that is when they firm up and get their best texture.
- Keep an eye on the final minute or two, because they can go from perfect to too dark pretty quickly.
The Simple Tools That Make Everything Easier
Before the oven gets going, it helps to have a few basics ready so the process feels smooth and easy.
Baking Sheet: This gives you a flat, hot surface for even baking.
Parchment Paper: It keeps cleanup easy and helps the crisps release without tearing.
Measuring Cups and Spoons: These keep the cheese and seasonings balanced.
Small Mixing Bowl: Handy for tossing the cheeses and seasoning together before topping.
Thin Spatula: Perfect for lifting the cooled crisps off the tray cleanly.
What You’ll Need to Make These Crispy Bites
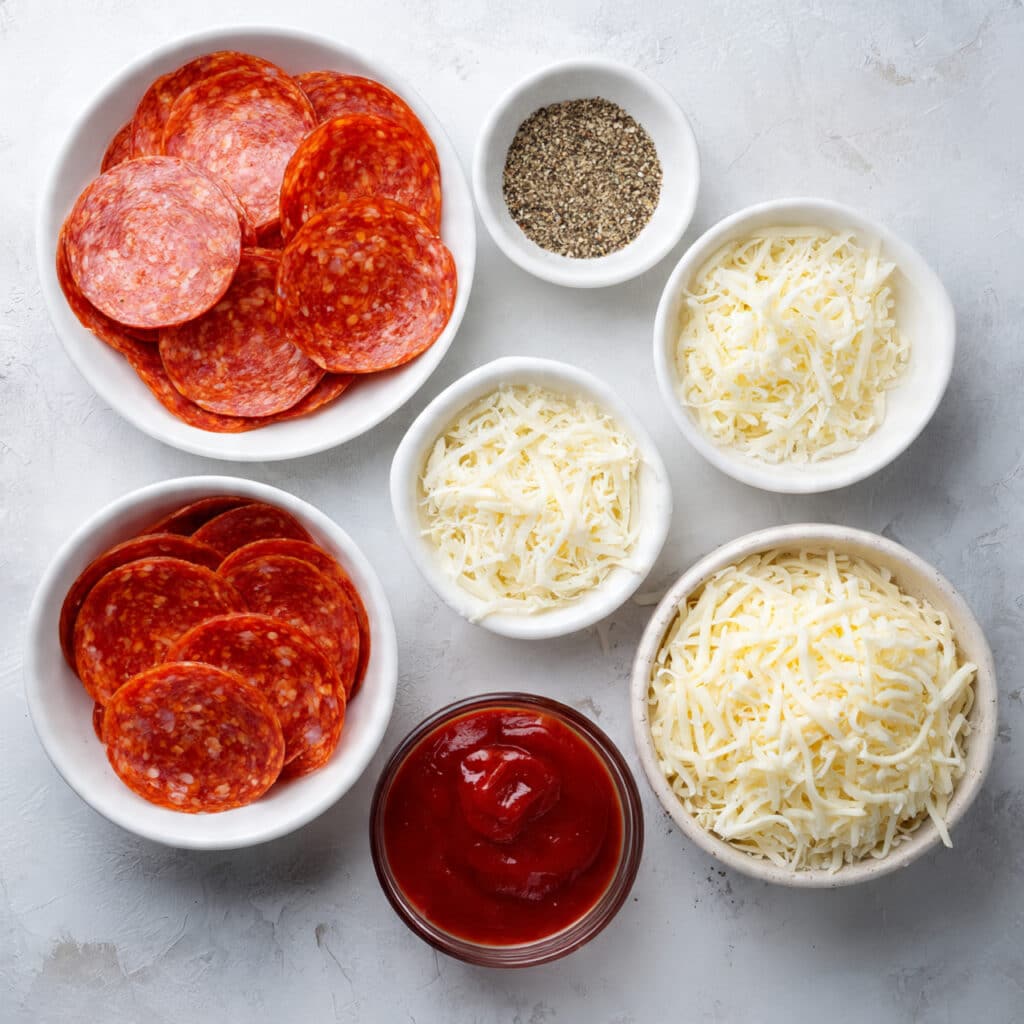
The beauty of this snack is how a handful of simple ingredients can turn into something that feels way more exciting than it should. Each ingredient has a job, and together they create that pizza-inspired crunch everyone reaches for first.
- Pepperoni: 24 slices, this forms the crisp, savory base and gives each bite its bold, smoky flavor.
- Shredded mozzarella cheese: 1 cup, this melts into a bubbly layer that softens the pepperoni just enough while still crisping at the edges.
- Grated parmesan cheese: 1/4 cup, this adds extra saltiness and helps create a deeper golden finish.
- Italian seasoning: 1/2 teaspoon, this brings in that familiar pizzeria-style herb flavor.
- Black pepper: 1/4 teaspoon, this adds a gentle kick and rounds out the richness.
- Marinara sauce, for serving: 1/4 cup, this is optional but gives a bright, tangy contrast when you want a dipping sauce.
Easy Swaps That Still Taste Great
Once you know the basic idea, it is easy to make small changes without losing the charm of the dish.
Mozzarella: Swap with shredded provolone for a slightly sharper, more pizza-like finish.
Parmesan: Use finely grated Asiago for a nuttier bite.
Italian seasoning: Try dried oregano with a pinch of garlic powder for a simpler flavor profile.
Marinara sauce: Serve with ranch or a creamy yogurt-based dip if you want something cool and rich.
The Ingredients That Really Make This Pop
A couple of ingredients do the heavy lifting here, and they deserve a little attention before you start baking.
Pepperoni: As it cooks, the edges curl and the fat renders slightly, creating that irresistible crispy texture and concentrated savory flavor.
Parmesan: This adds more than saltiness. It helps the tops brown beautifully and gives the crisps a delicate lace-like edge in places, which is worth every bite.
Let’s Get These Into the Oven
This is the part where the simple ingredients turn into something that smells amazing and disappears fast. Here are the steps you’re going to follow.
- Preheat Your Equipment: Preheat your oven to 400°F (200°C). Line a baking sheet with parchment paper so the crisps bake evenly and release easily.
- Combine Ingredients: In a small bowl, mix the shredded mozzarella, grated parmesan, Italian seasoning, and black pepper until evenly combined.
- Prepare Your Cooking Vessel: Arrange the pepperoni slices on the lined baking sheet in a single layer, leaving a little space between each one.
- Assemble the Dish: Spoon a small mound of the cheese mixture onto the center of each pepperoni slice, pressing lightly so it stays in place.
- Cook to Perfection: Bake for 7 to 9 minutes, until the cheese is melted and golden in spots and the pepperoni edges look crisp.
- Finishing Touches: Remove the tray from the oven and let the crisps cool for 3 to 5 minutes. This resting time helps them firm up and become even crispier.
- Serve and Enjoy: Transfer to a plate and serve warm, with marinara sauce on the side if you like a little dip with each crunchy bite.
The Flavor and Texture Magic Happening Here
What makes these so addictive is the contrast. The pepperoni turns slightly curled and crisp, while the cheese melts into a savory layer that bubbles, browns, and then firms up as it cools. You get salty richness first, then a little herbiness, and finally that crisp snap at the edge that makes you reach for another. This one’s a total game-changer when you want something quick but still exciting.
Little Tricks That Make a Big Difference
Once you have the basics down, a few extra details can make your batch even better.
- Use regular-sized pepperoni slices instead of thick-cut ones so they crisp evenly.
- Let the crisps cool fully on the tray if you want the maximum crunch.
- Bake one test piece first if your oven runs hot, just to find your ideal timing.
- Serve them soon after baking for the best texture and flavor.
Common Slip-Ups and How to Avoid Them
This is a simple snack, but a couple of small mistakes can change the final texture. The good news is they are easy to avoid.
- Do not overload each slice with cheese, because too much can spill over and make the edges greasy instead of crisp.
- Do not skip the parchment paper, because the melted cheese can cling to the pan.
- Do not crowd the tray, because trapped steam can soften the crisps.
- Do not move them too soon, because they need a few minutes to set and crisp up properly.
A Quick Look at the Nutrition
These bites are rich, satisfying, and surprisingly filling for something so small.
Servings: 4
Calories per serving: 210
Note: These are approximate values.
Time Breakdown Before You Start
One of the best things here is how quickly everything comes together, especially when you want something warm without a long wait.
Prep Time: 5 minutes
Cook Time: 9 minutes
Total Time: 14 minutes
How to Make Them Ahead and Store Them Well
If you are planning for a party or just want to stay one step ahead, these are easy to prep. You can mix the cheese topping a few hours in advance and keep it chilled until ready to use. Once baked, let the crisps cool completely before storing them in an airtight container in the fridge for up to 3 days. For longer storage, freeze them in a single layer first, then transfer to a freezer-safe container for up to 1 month. Reheat in a 375°F oven for 3 to 5 minutes to bring back the crunch.
Best Ways to Serve These Crispy Little Favorites
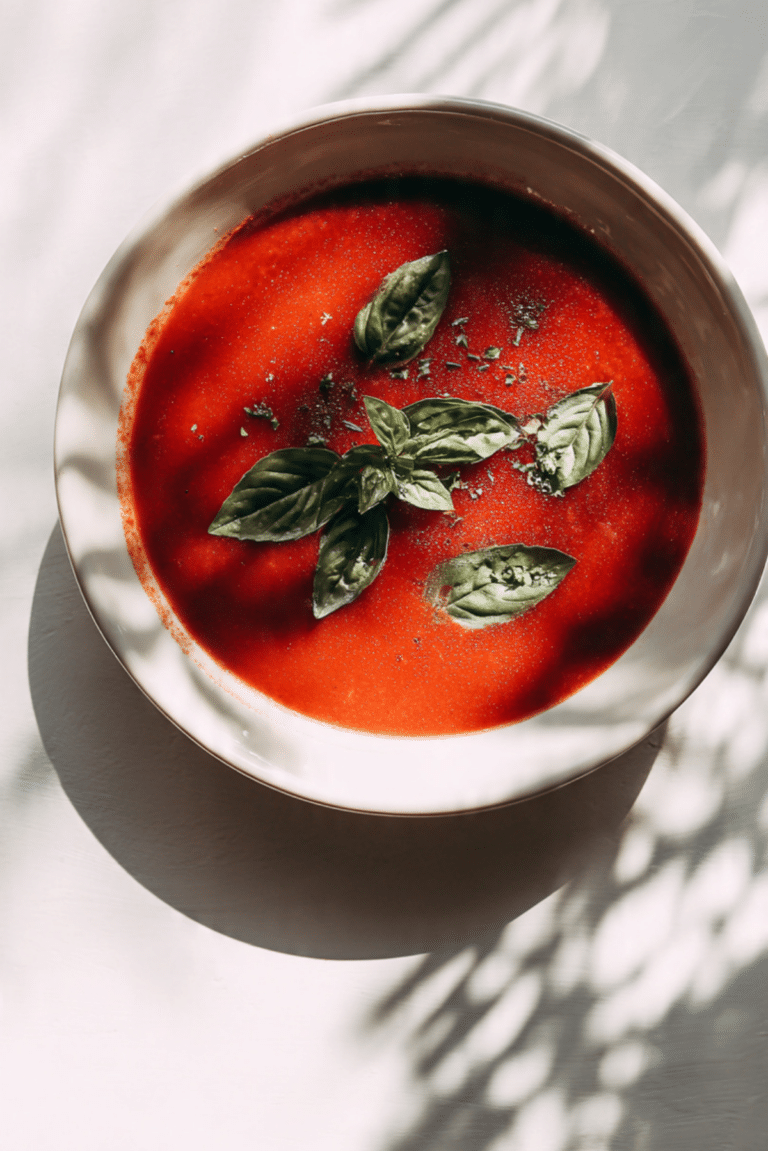
These are fantastic on their own, but they also play well with others. Serve them with warm marinara for a pizza-style snack board, or pair them with a crisp green salad for a fun lunch plate. They also work beautifully next to tomato soup, roasted vegetables, or a platter of olives and crunchy cucumber slices. Let me tell you, they look extra tempting piled high on a small plate with a dip right in the middle.
Fun Ideas for Any Extras You Have
If you end up with leftovers, there are some very good ways to use them. Crumble them over Caesar salad for a crunchy salty topping, or tuck a few into a wrap for extra flavor and texture. They are also fun chopped over scrambled eggs or baked into the top of a quick casserole for a cheesy crisp finish.
A Few More Helpful Notes Before You Bake
Sometimes the best kitchen advice is the kind you remember right before you need it. Use freshly shredded mozzarella if you want the smoothest melt, because pre-shredded cheese can be a little drier. If your pepperoni releases a lot of oil, just blot the crisps lightly after baking. And if you like more heat, add a tiny pinch of crushed red pepper right before serving.
Simple Ways to Make Them Look Extra Special
Presentation matters, especially with a snack this golden and glossy. Arrange the crisps in a loose spiral on a white plate so the color stands out. Add a small bowl of marinara in the center for contrast and easy dipping. A light sprinkle of extra parmesan or herbs right before serving can make them look party-ready without adding much effort.
Variations Worth Trying Next
- Spicy Version: Add a pinch of crushed red pepper to the cheese mixture for extra heat.
- Provolone Twist: Replace the mozzarella with provolone for a stronger, more classic pizza-shop flavor.
- Herbier Batch: Add a pinch of dried basil and oregano for a more fragrant finish.
- Cheese-Forward Style: Increase the parmesan slightly and reduce the mozzarella for an even crispier, saltier bite.
- Dipping Board Version: Serve the crisps with marinara and a creamy dip for a snack platter that feels a little more special.
FAQ’s
Q1: Can I make these in an air fryer?
Yes, you can. Cook them in a single layer at 375°F for about 5 to 7 minutes, watching closely near the end.
Q2: How do I know when they are done?
The cheese should be melted and golden in spots, and the pepperoni edges should look crisp and slightly curled.
Q3: Can I use turkey pepperoni?
Yes, though the texture may be a little less rich and slightly less crisp depending on the brand.
Q4: Why are my crisps greasy?
That usually happens when the pepperoni releases a lot of oil or when too much cheese is added. Blot lightly after baking if needed.
Q5: Can I make them without parmesan?
Yes. They will still work with only mozzarella, though the flavor will be a little milder and the tops may brown a bit less.
Q6: What dip goes best with them?
Marinara is the classic choice, but ranch or a creamy garlic dip also works really well.
Q7: Can I store them at room temperature?
They are best not left out for long. For safety and freshness, refrigerate leftovers once they have cooled.
Q8: Are they good for parties?
Absolutely. They are easy to make in batches and easy to grab, which makes them ideal for sharing.
Q9: Can I prep them in advance before baking?
Yes. You can arrange the pepperoni and top with the cheese mixture ahead of time, then bake just before serving.
Q10: How do I get the crispiest texture?
Use a hot oven, do not overcrowd the tray, and let the crisps cool for a few minutes before moving them.
Conclusion
These little crisps prove that a short ingredient list can still deliver huge flavor. They are crunchy, cheesy, savory, and incredibly easy to make, which is probably why people tend to eat them straight from the tray. Whether you serve them for a party, a cozy snack, or a quick bite when you want something warm and satisfying, they bring a lot of joy for very little effort. Trust me, once you make them, you will already be thinking about the next batch.
Print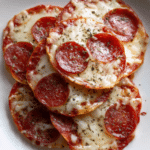
Pepproni & cheese crisps
- Prep Time: 5 minutes
- Cook Time: 9 minutes
- Total Time: 14 minutes
- Yield: 4 servings 1x
- Category: Snack
- Method: Baked
- Cuisine: American
- Diet: Gluten Free
Description
Crispy, cheesy pepperoni bites baked until golden and perfect for snacking, sharing, or dipping in marinara.
Ingredients
- 24 slices pepperoni
- 1 cup shredded mozzarella cheese
- 1/4 cup grated parmesan cheese
- 1/2 teaspoon Italian seasoning
- 1/4 teaspoon black pepper
- 1/4 cup marinara sauce, for serving (optional)
Instructions
- Preheat the oven to 400°F (200°C) and line a baking sheet with parchment paper.
- In a small bowl, mix the mozzarella, parmesan, Italian seasoning, and black pepper.
- Arrange the pepperoni slices on the prepared baking sheet in a single layer, leaving a little space between each slice.
- Spoon a small amount of the cheese mixture onto the center of each pepperoni slice.
- Bake for 7 to 9 minutes, until the cheese is melted and golden in spots and the pepperoni edges are crisp.
- Remove from the oven and let the crisps cool for 3 to 5 minutes so they firm up.
- Serve warm with marinara sauce on the side, if desired.
Notes
- Do not overload the pepperoni slices with cheese or the edges may not crisp properly.
- Let the crisps cool before removing them from the tray for the best crunch.
- Add a pinch of crushed red pepper if you like a little heat.
- Store leftovers in the fridge and reheat in the oven to restore crispiness.
Nutrition
- Serving Size: 1 serving
- Calories: 210
- Sugar: 1g
- Sodium: 620mg
- Fat: 16g
- Saturated Fat: 7g
- Unsaturated Fat: 7g
- Trans Fat: 0g
- Carbohydrates: 2g
- Fiber: 0g
- Protein: 14g
- Cholesterol: 35mg
Keywords: pepperoni crisps, cheese crisps, baked snack, low carb snack, easy appetizer