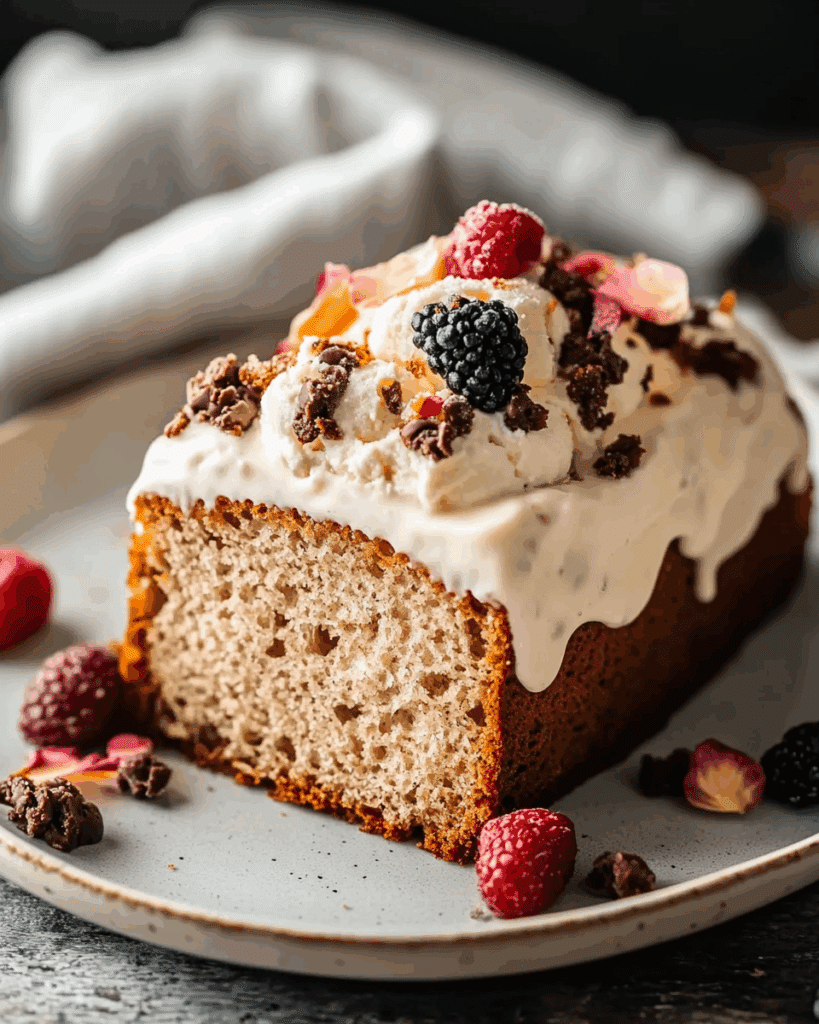
Vintage Ice Cream Bread Recipe
If you’re in the mood for something nostalgic, comforting, and downright delightful, let me introduce you to this Vintage Ice Cream Bread recipe. It’s one of those quirky, old-school treats that feels like a warm hug from the past easy to make and unbelievably fun. Imagine the sweet aroma of melting ice cream mixing with the soft, tender crumb of fresh bread, all baked together into a cake-like loaf. It’s like ice cream and bread had a delicious lovechild! Trust me, you’re going to love this one whether you’re new to baking or just looking for a cool twist on your usual bread.
Why You’ll Love Vintage Ice Cream Bread
This recipe isn’t just about the ingredients it’s about creating moments. Whether you’re baking for a cozy afternoon snack, surprising your family with something unique, or indulging in a sweet treat that’s ready in a snap, this bread has got you covered. Here’s why it’s a favorite:
Versatile: Enjoy it plain, toasted with butter, or even turned into sweet sandwiches with jam or cream cheese.
Budget-Friendly: Uses just a few simple ingredients you probably already have in your kitchen.
Quick and Easy: No yeast, no kneading just mix, bake, and enjoy!
Customizable: Swap out the ice cream flavor to match your mood or add mix-ins like chocolate chips or nuts.
Crowd-Pleasing: Perfect for kids and adults alike who appreciate a nostalgic treat with a twist.
Ingredients in Vintage Ice Cream Bread
Here’s what makes this sweet bread so special and easy to whip up:
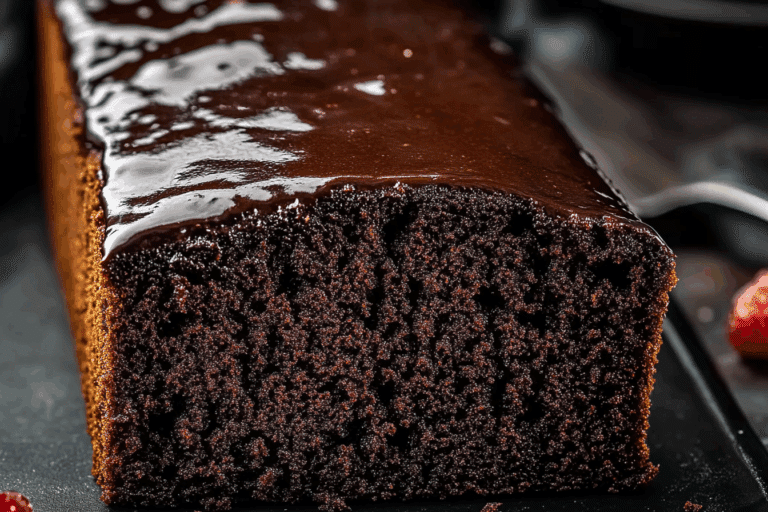
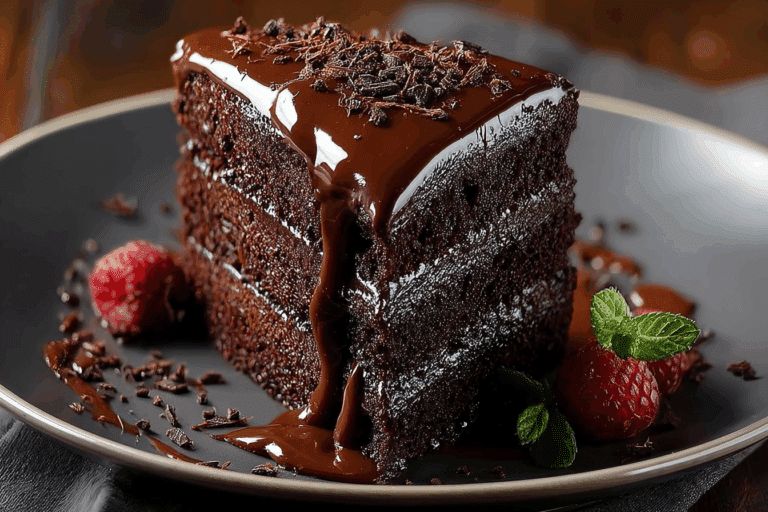
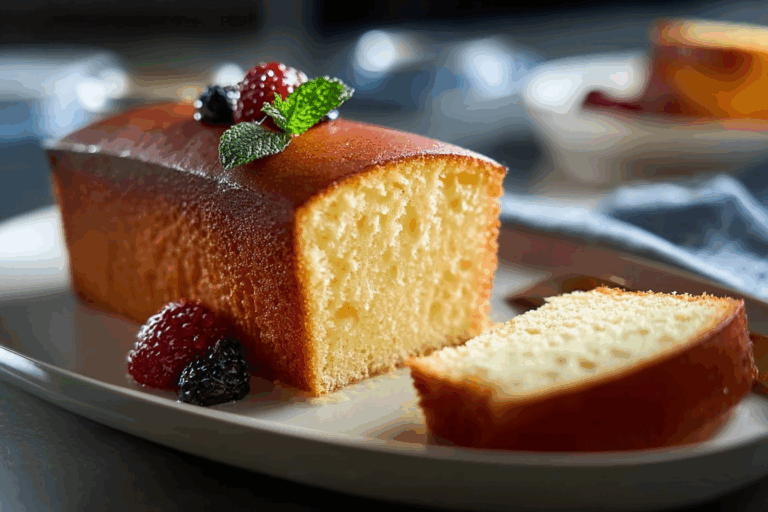
Ice Cream: The secret star! Use any flavor you love vanilla is classic, but chocolate, strawberry, or even cookie dough work beautifully.
Self-Rising Flour: The magic that gives this bread its rise without yeast or baking powder.
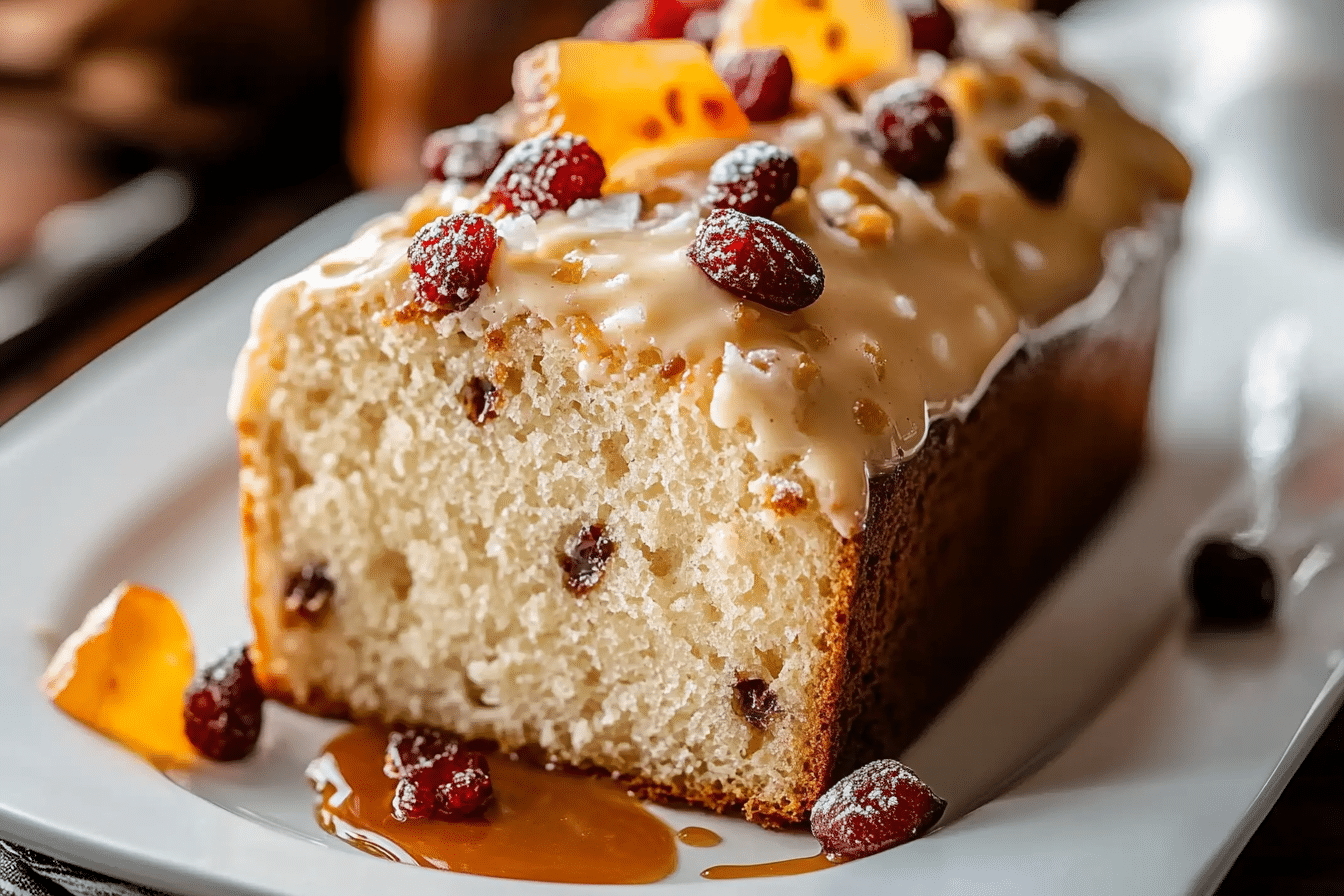
Optional Mix-Ins: Think chocolate chips, nuts, or dried fruit for extra texture and flavor.
(Note: the full ingredients list, including measurements, is provided in the recipe card directly below.)
Instructions
Let’s dive into the steps to create this flavorful masterpiece:
Preheat Your Equipment: Set your oven to 350°F (175°C) and grease a loaf pan to keep your bread from sticking.
Combine Ingredients: In a large bowl, mix softened ice cream with self-rising flour until just combined. If you’re adding mix-ins, fold them in gently now.
Prepare Your Cooking Vessel: Make sure your loaf pan is greased or lined with parchment paper to make removing the bread a breeze.
Assemble the Dish: Pour the batter into the prepared pan and smooth the top with a spatula.
Cook to Perfection: Bake for about 35-45 minutes, or until a toothpick inserted in the center comes out clean.
Finishing Touches: Let the bread cool in the pan for 10 minutes before transferring to a wire rack to cool completely.
Serve and Enjoy: Slice it up and enjoy plain, toasted, or with your favorite spread.
Nutrition Facts
Servings: 8
Calories per serving: 180
Note: These are approximate values and may vary based on the ingredients you use.
Preparation Time
Prep Time: 10 minutes
Cook Time: 40 minutes
Total Time: 50 minutes
How to Serve Vintage Ice Cream Bread
This dish pairs wonderfully with various sides and accompaniments. Here are a few serving suggestions to enhance your dining experience:
Serve warm with butter or honey drizzled on top. Pair with a cup of tea or coffee for a cozy afternoon treat. Turn slices into mini sandwiches with cream cheese and jam for a nostalgic snack. Add a scoop of ice cream or whipped cream for an extra indulgent dessert.
Additional Tips
Here are some extra tips to help you get the most out of this recipe:
Use high-quality ice cream for the best flavor. Let the ice cream soften to room temperature for easier mixing. Don’t overmix the batter it’s okay if it’s a little lumpy. Experiment with different ice cream flavors to find your favorite combo. Store leftovers in an airtight container to keep the bread moist.
FAQ’s
1. Can I use regular flour instead of self-rising flour?
You can, but you’ll need to add baking powder and salt to mimic self-rising flour.
2. Can I make this bread vegan?
Try using dairy-free ice cream and a suitable flour blend; results may vary.
3. How long does the bread keep?
Store in an airtight container at room temperature for up to 3 days.
4. Can I freeze this bread?
Yes! Wrap tightly and freeze for up to 1 month. Thaw before serving.
5. Can I add chocolate chips or nuts?
Absolutely! Fold them in during mixing for extra flavor and texture.
6. Does the bread taste like ice cream?
It has a subtle sweetness and flavor from the ice cream but with a bread-like texture.
7. Can I use flavored or sorbet ice cream?
Yes, but keep in mind sorbets are more watery and may affect texture.
8. Is this recipe gluten-free?
Not as written, but you can try gluten-free self-rising flour alternatives.
9. Can I make muffins instead of a loaf?
Yes! Use a muffin tin and adjust baking time to about 20-25 minutes.
10. What’s the texture like?
Soft, slightly dense, and moist think of a cross between bread and cake.
Conclusion
Vintage Ice Cream Bread is a charming throwback recipe that’s as fun to make as it is to eat. With just two main ingredients and endless flavor possibilities, it’s a sweet, comforting treat that brings a touch of nostalgia to your kitchen. Whether you’re baking for family, friends, or just yourself, this easy recipe is sure to become a beloved classic. So go ahead, dig in, and savor every delicious slice!
Print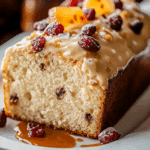
Vintage Ice Cream Bread Recipe
- Prep Time: 5 minutes
- Cook Time: 50 minutes
- Total Time: 55 minutes
- Yield: 1 loaf (8 slices) 1x
- Category: Dessert
- Method: Baking
- Cuisine: American
- Diet: Vegetarian
Description
Vintage Ice Cream Bread is a simple and nostalgic quick bread made using just ice cream and self-rising flour. It’s moist, sweet, and perfect for a no-fuss dessert or snack.
Ingredients
- 2 cups ice cream (any flavor, slightly softened)
- 2 cups self-rising flour
Instructions
- Preheat oven to 175°C (350°F) and grease a loaf pan.
- In a large bowl, mix the softened ice cream with self-rising flour until just combined into a thick batter.
- Pour batter into the prepared loaf pan and smooth the top.
- Bake for 45–50 minutes, or until a toothpick inserted into the center comes out clean.
- Let cool in the pan for 10 minutes, then transfer to a wire rack to cool completely before slicing.
Notes
- Use any flavor of ice cream to vary the taste.
- For a sweeter bread, choose sweeter or richer ice cream flavors.
- Add mix-ins like chocolate chips, nuts, or dried fruit if desired.
Nutrition
- Serving Size: 1 slice
- Calories: 200
- Sugar: 15g
- Sodium: 200mg
- Fat: 7g
- Saturated Fat: 4g
- Unsaturated Fat: 2g
- Trans Fat: 0g
- Carbohydrates: 30g
- Fiber: 1g
- Protein: 3g
- Cholesterol: 25mg
Keywords: ice cream bread, vintage recipe, quick bread, no yeast bread, easy dessert bread