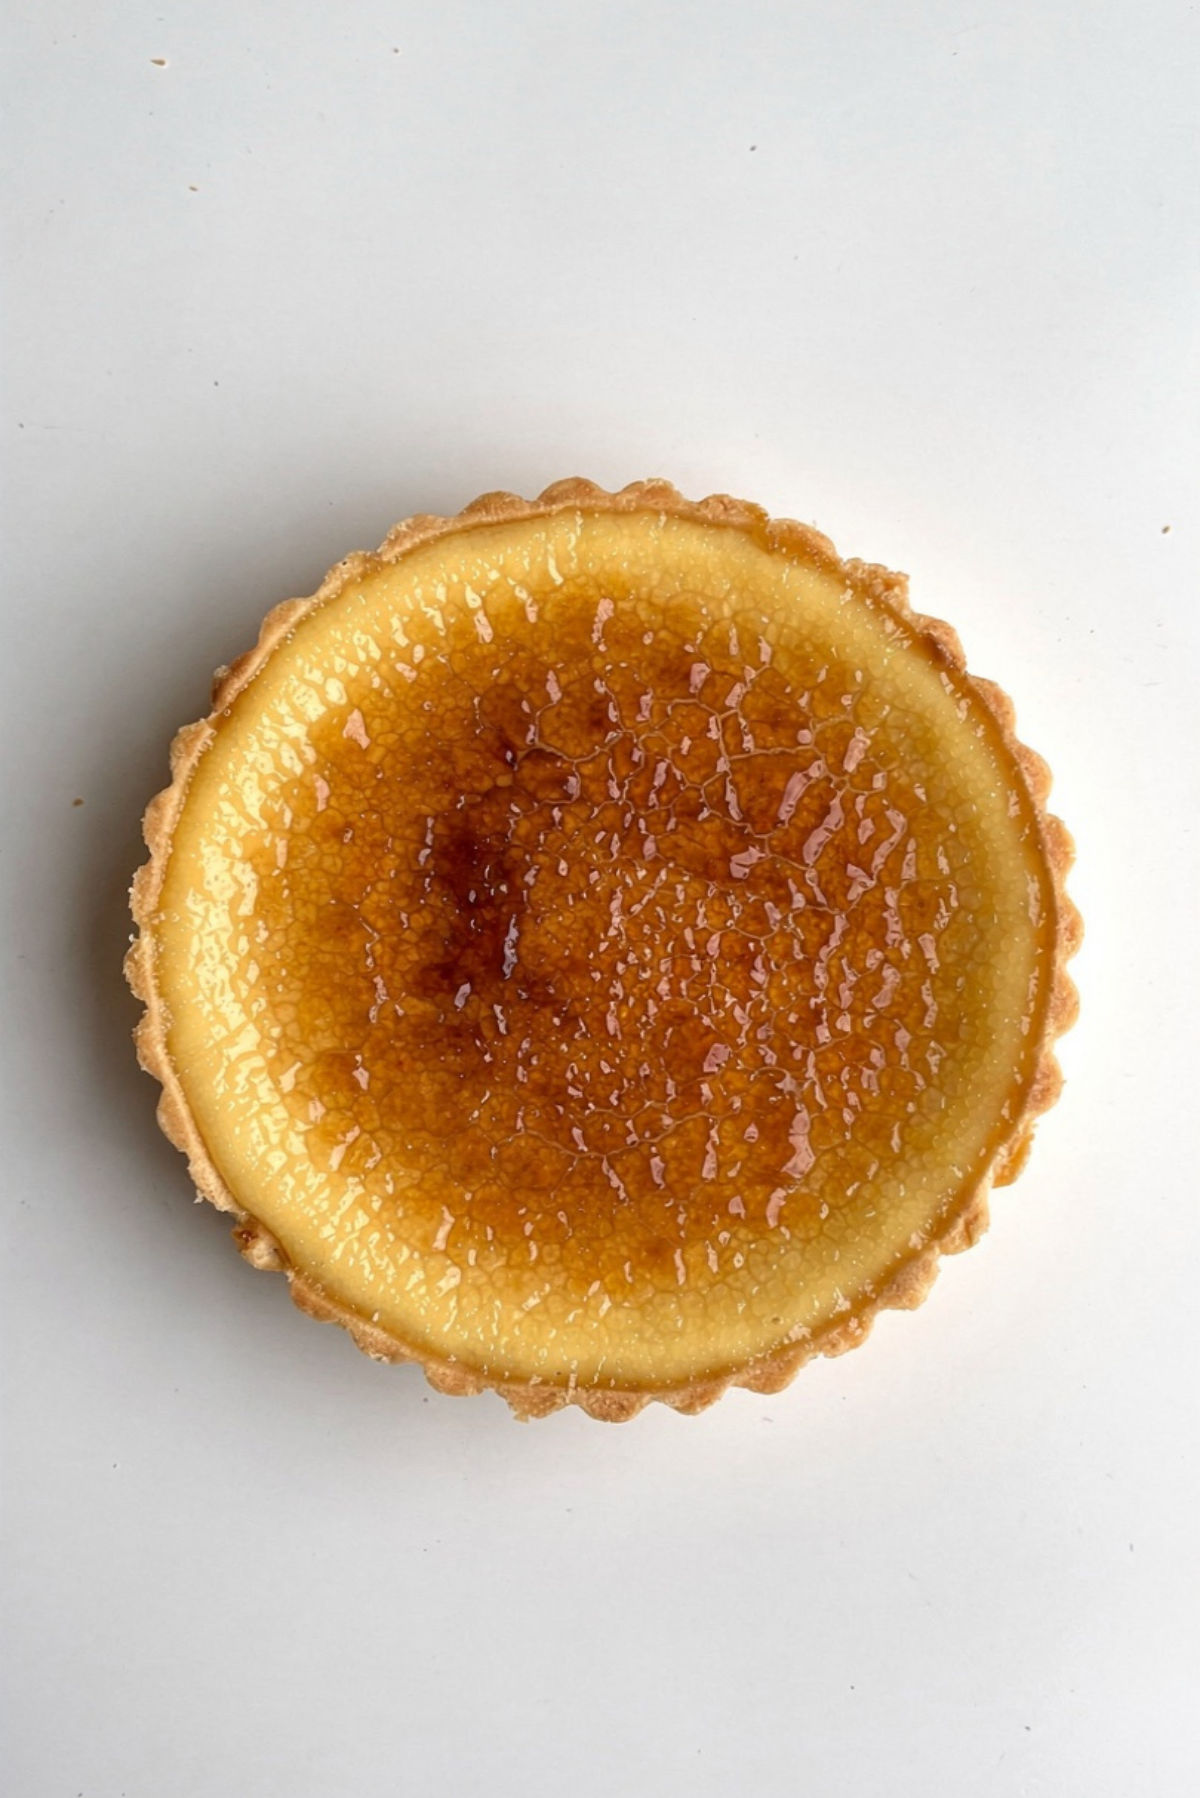
Elegant Crème Brûlée Tart
There is something quietly magical about a dessert that looks polished and fancy, but still feels warm and homemade when you bring it to the table. This tart has that exact feeling. A buttery shell holds a silky vanilla custard, then the top gets kissed with caramelized sugar until it turns glassy, golden, and wonderfully crisp.
Trust me, you’re going to love this. It has the cozy flavor of classic crème brûlée with the clean, sliceable beauty of a tart. Let me tell you, it’s worth every bite.
A Dessert That Feels Fancy Without Being Fussy
This is the kind of dessert that makes people pause for a second before taking a bite. The surface catches the light, the crust cuts cleanly, and the custard inside is smooth enough to feel like velvet.
And now let’s lean into why this recipe works so well. It brings together three simple pleasures, crisp pastry, creamy vanilla filling, and caramelized sugar that cracks gently under the spoon.
A Little French Charm in Every Slice
Crème brûlée is a classic French dessert known for its creamy custard base and caramelized sugar topping. Tart shells, meanwhile, have long been used in French baking to frame rich creams, fruits, and custards in a neat, elegant way.
This version brings those two ideas together. You get the familiar crackly top of crème brûlée, but instead of serving it in ramekins, it becomes a beautiful sliceable dessert made for sharing.
Why This Tart Earns a Spot on Your Dessert Table
Once the shell is baked and the custard is chilled, the final brûlée moment feels a little dramatic in the best way. This one’s a total game-changer when you want something impressive without making a towering layer cake.
Versatile: Serve it after dinner, at brunch, or as a holiday dessert. It feels special without needing extra decoration.
Budget-Friendly: The ingredients are simple baking staples like flour, butter, eggs, sugar, milk, and cream. The result tastes bakery-level without a bakery bill.
Quick and Easy: The hands-on steps are calm and simple. Most of the waiting time is just chilling, which lets the custard set beautifully.
Customizable: You can keep it classic with vanilla or add citrus zest, espresso, or a little almond extract for a new mood.
Crowd-Pleasing: The creamy filling and crisp caramel top make it hard not to love. It is rich, but not heavy when sliced neatly.
Make-Ahead Friendly: The tart can chill ahead of time, then the sugar topping can be caramelized shortly before serving.
Great for Leftovers: Leftover slices keep nicely in the fridge. The sugar top softens a bit, but the flavor stays dreamy.
Chef Notes for a Smooth Custard and Crisp Finish
A tart like this rewards a gentle hand. Nothing needs to be rushed, especially the custard, because smoothness is the whole point.
- Chill the dough before baking so the crust stays neat and does not shrink too much.
- Strain the custard before pouring it into the tart shell for the silkiest texture.
- Bake the custard only until it is just set with a slight wobble in the center.
- Brûlée the sugar right before serving for the best crackly top.
- Let the tart cool fully before slicing so the filling holds its shape.
Tools That Make the Process Easier
Before we get flour on the counter, let’s gather what helps this dessert come together smoothly. You do not need a professional kitchen, just a few reliable basics.
9-inch tart pan with removable bottom: This gives the tart its clean shape and makes serving much easier.
Mixing bowls: Helpful for making the dough and whisking the custard.
Rolling pin: Rolls the pastry evenly so the crust bakes at the same thickness.
Fine-mesh strainer: Removes any tiny egg bits from the custard for a smoother finish.
Saucepan: Used to warm the cream and milk gently before tempering the eggs.
Kitchen torch: Best for caramelizing the sugar topping evenly.
Pie weights or dried beans: Keep the tart shell flat while blind baking.
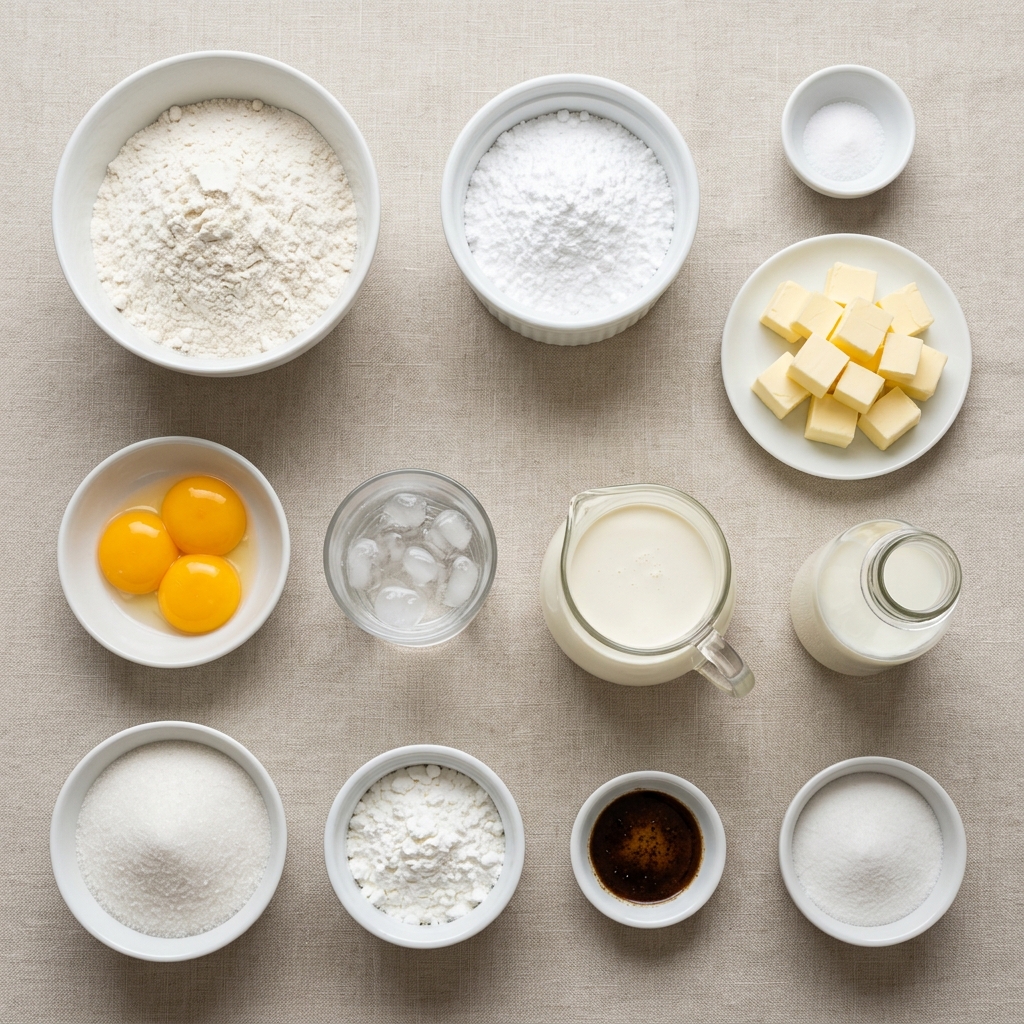
Ingredients You Will Need for This Silky Tart
Every part of this dessert has a job. The crust gives a buttery snap, the custard brings creamy vanilla softness, and the sugar topping adds that beautiful caramel crunch.
- All-purpose flour: 1 1/4 cups, forms the base of the tender tart crust.
- Powdered sugar: 1/4 cup, sweetens the crust gently and keeps it delicate.
- Fine salt: 1/4 teaspoon, balances the sweetness.
- Unsalted butter: 1/2 cup cold and cubed, creates a rich, crisp pastry.
- Egg yolk for crust: 1 large, helps bind the dough.
- Ice water: 1 to 2 tablespoons, brings the dough together without making it tough.
- Heavy cream: 1 1/2 cups, gives the custard its lush texture.
- Whole milk: 1/2 cup, lightens the filling slightly.
- Granulated sugar: 1/2 cup, sweetens the custard.
- Egg yolks for custard: 5 large, thicken the filling into a silky custard.
- Cornstarch: 1 tablespoon, helps the tart slice cleanly.
- Vanilla bean paste: 2 teaspoons, gives deep vanilla flavor and tiny specks.
- Superfine sugar: 3 tablespoons, caramelizes into the crisp brûlée topping.
Easy Ingredient Swaps That Still Work Beautifully
Now that you know what each ingredient does, here are a few gentle swaps that keep the dessert balanced.
Vanilla bean paste: Use 2 teaspoons pure vanilla extract instead.
Whole milk: Use 2 percent milk if needed, though the filling will be slightly less rich.
Powdered sugar: Use granulated sugar in the crust, but the texture may be a little less tender.
Superfine sugar: Use regular granulated sugar and pulse it briefly in a blender for a finer texture.
Heavy cream: Use half-and-half for a lighter filling, but expect a softer set.
The Ingredients That Make It Shine
A few ingredients do the quiet heavy lifting here, and they are worth noticing before we start.
Vanilla bean paste: This gives the custard its bakery-style aroma, warm, floral, and sweet without tasting flat.
Egg yolks: They create the soft custard body and that rich golden color that makes each slice look so tempting.
Let’s Make It Step by Step
And now let’s dive into the fun part. Here are the steps you’re going to follow, from the buttery crust to that final crackly sugar top.
- Preheat Your Equipment: Preheat the oven to 375°F. Place a baking sheet on the middle rack so the tart shell gets steady heat from below.
- Combine Ingredients: In a bowl, mix the flour, powdered sugar, and salt. Cut in the cold butter until the mixture looks like coarse crumbs, then stir in 1 egg yolk and just enough ice water to form a soft dough.
- Prepare Your Cooking Vessel: Roll the dough into a circle and fit it into a 9-inch tart pan. Chill for 20 minutes, then line with parchment and fill with pie weights.
- Assemble the Dish: Blind bake the crust for 15 minutes, remove the weights, then bake for 8 to 10 more minutes until lightly golden. Lower the oven to 325°F. Warm the cream and milk in a saucepan until steaming. In a bowl, whisk the sugar, 5 egg yolks, cornstarch, and vanilla. Slowly whisk in the warm cream mixture, then strain the custard into the baked shell.
- Cook to Perfection: Bake for 18 to 22 minutes, until the edges are set and the center has a gentle wobble. Cool at room temperature, then chill for at least 4 hours.
- Finishing Touches: Sprinkle superfine sugar evenly over the chilled tart. Use a kitchen torch to caramelize the top until golden and glassy.
- Serve and Enjoy: Let the sugar set for 2 minutes, then slice with a sharp knife. Serve chilled and enjoy that creamy center with the crisp caramel top.
How the Texture and Flavor Come Together
The best part is the contrast. The crust is buttery and crisp, the custard is cool and smooth, and the caramel top adds a delicate snap that makes every bite feel layered.
As the custard chills, the vanilla flavor settles deeper into the cream. The final sugar topping brings a toasted, slightly bittersweet note that keeps the dessert from tasting too sweet.
Helpful Tips for the Best Results
A few small habits can make the difference between nice and unforgettable. Keep these in mind as you bake.
- Keep the butter cold: Cold butter helps the crust bake up crisp and tender.
- Do not skip straining: It makes the custard noticeably smoother.
- Torch slowly: Move the flame in small circles so the sugar melts evenly.
- Slice with a warm knife: Wipe the knife between cuts for cleaner slices.
Mistakes to Avoid for a Cleaner Finish
This dessert is forgiving, but a few common mistakes can affect the texture. Here is how to stay ahead of them.
- Overbaking the custard: Pull it when the center still has a soft wobble, because it firms as it cools.
- Adding too much water to the dough: Add only enough to bring it together, or the crust can turn tough.
- Brûléeing too early: The sugar top is best done close to serving so it stays crisp.
- Using coarse sugar on top: Finer sugar melts faster and creates a smoother caramel layer.
Nutrition Facts for Each Slice
Servings: 10
Calories per serving: 365
Note: These are approximate values.
Time Needed Before You Slice
Prep Time: 35 minutes
Cook Time: 35 minutes
Total Time: 1 hour 10 minutes
Note: Chilling time is 4 hours and is not included in the total active time.
Make-Ahead and Storage Tips
This tart is a lovely make-ahead dessert because the custard needs time to chill anyway. Bake and chill it earlier in the day, then caramelize the sugar topping right before serving.
Store leftovers covered in the refrigerator for up to 3 days. Freezing is not ideal because custard can turn grainy after thawing. To serve leftovers, enjoy chilled rather than reheated, since warming can soften the filling too much.
How to Serve It Beautifully
Serve slices chilled with fresh berries, a spoonful of softly whipped cream, or a little dusting of powdered sugar on the plate. Coffee and tea are perfect with it because they balance the creamy sweetness.
For a dinner party, bring the tart to the table whole after torching the top. That shiny caramel surface always gets attention.
Fresh Ideas for Leftover Slices
Leftover slices can still feel special the next day. Serve a small piece with Greek yogurt for a sweet brunch plate, or crumble a chilled slice into a dessert cup with berries.
You can also chop leftover tart into small cubes and layer it with whipped cream for a quick parfait. It is not traditional, but it is very good.
Additional Tips for Flavor and Ease
Use good vanilla if you can, because the custard is simple and lets that flavor shine. Also, give the tart plenty of chill time before slicing. The cleaner the slice, the more elegant it feels.
If your kitchen is warm, chill the crust a little longer before baking. Pastry behaves better when it is cold.
Make It a Showstopper
For the prettiest presentation, caramelize the sugar until it is golden in some spots and deeper amber in others. That natural color variation looks gorgeous.
Serve on a plain cake stand or a white platter so the golden top and pale custard stand out. A few berries on the side of each plate are enough, no need to crowd it.
Variations to Try
- Citrus Vanilla: Add 1 teaspoon orange zest to the custard for a bright, fragrant twist.
- Espresso Cream: Stir 1 teaspoon instant espresso powder into the warm cream for a coffee note.
- Almond Vanilla: Add 1/4 teaspoon almond extract with the vanilla for a bakery-style flavor.
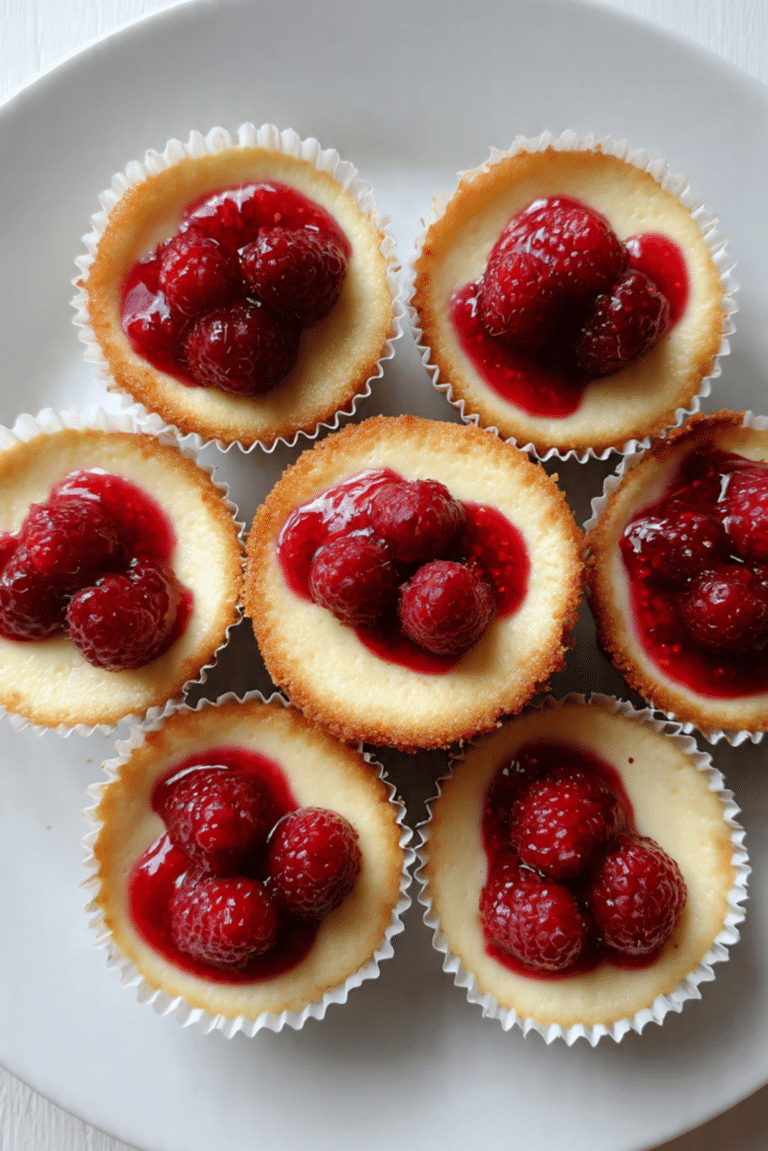
- Berry Topped: Serve each slice with raspberries or strawberries after brûléeing.
- Chocolate Bottom: Brush the baked crust with a thin layer of melted dark chocolate before adding the custard.
FAQ’s
Q1: Can I make this tart the day before?
A1: Yes, and honestly, that works beautifully. Chill it overnight and caramelize the sugar topping shortly before serving.
Q2: Can I use store-bought tart dough?
A2: Yes, store-bought dough works when you need a shortcut. Homemade crust gives the best buttery flavor, but the filling still shines either way.
Q3: Do I need a kitchen torch?
A3: A kitchen torch gives the most control. A broiler can work, but it may warm the custard more than you want.
Q4: Why did my custard crack?
A4: It was probably baked a little too long. Next time, remove it when the center still jiggles gently.
Q5: Can I use vanilla extract instead of vanilla bean paste?
A5: Yes, use the same amount. The flavor will still be lovely, just without the tiny vanilla specks.
Q6: How do I keep the crust from shrinking?
A6: Chill the dough before baking and use pie weights during the first bake. This helps the sides stay in place.
Q7: Can I freeze it?
A7: Freezing is not recommended. Custard can lose its smooth texture once thawed.
Q8: How long does the sugar topping stay crisp?
A8: It is crispest right after torching. After refrigeration, it slowly softens from the moisture in the custard.
Q9: Can I make mini tarts with this recipe?
A9: Yes, divide the dough and custard among small tart pans. Reduce the baking time and watch for that gentle wobble.
Q10: What should I serve with it?
A10: Fresh berries, coffee, tea, or lightly whipped cream all pair beautifully. Keep the sides simple so the tart remains the star.
Conclusion
Elegant Crème Brûlée Tart is one of those desserts that feels like a little celebration from the first slice to the last bite. It is creamy, crisp, buttery, and full of soft vanilla warmth.
Make it when you want something beautiful without making things complicated. Trust me, once that caramel top cracks, everyone at the table will understand why this dessert is so special.
Print
Elegant Crème Brûlée Tart
- Prep Time: 35 minutes
- Cook Time: 35 minutes
- Total Time: 1 hour 10 minutes
- Yield: 10 servings 1x
- Category: Dessert
- Method: Baked
- Cuisine: French-inspired
- Diet: Vegetarian
Description
A polished dessert with a buttery tart shell, silky vanilla custard filling, and a crisp caramelized sugar topping.
Ingredients
- 1 1/4 cups all-purpose flour
- 1/4 cup powdered sugar
- 1/4 teaspoon fine salt
- 1/2 cup unsalted butter, cold and cubed
- 1 large egg yolk for the crust
- 1 to 2 tablespoons ice water
- 1 1/2 cups heavy cream
- 1/2 cup whole milk
- 1/2 cup granulated sugar
- 5 large egg yolks for the custard
- 1 tablespoon cornstarch
- 2 teaspoons vanilla bean paste
- 3 tablespoons superfine sugar for topping
Instructions
- Preheat the oven to 375°F and place a baking sheet on the middle rack.
- Mix the flour, powdered sugar, and salt in a bowl.
- Cut in the cold butter until the mixture looks like coarse crumbs.
- Stir in 1 egg yolk and just enough ice water to form a soft dough.
- Roll the dough into a circle, fit it into a 9-inch tart pan, and chill for 20 minutes.
- Line the crust with parchment, fill with pie weights, and bake for 15 minutes.
- Remove the weights and bake for 8 to 10 more minutes, until lightly golden.
- Lower the oven to 325°F.
- Warm the heavy cream and whole milk in a saucepan until steaming.
- Whisk the granulated sugar, 5 egg yolks, cornstarch, and vanilla bean paste in a bowl.
- Slowly whisk the warm cream mixture into the egg mixture.
- Strain the custard into the baked tart shell.
- Bake for 18 to 22 minutes, until the edges are set and the center has a gentle wobble.
- Cool at room temperature, then chill for at least 4 hours.
- Sprinkle the superfine sugar evenly over the chilled tart.
- Caramelize the sugar with a kitchen torch until golden and glassy.
- Let the topping set for 2 minutes, then slice and serve chilled.
Notes
- Strain the custard for the smoothest filling.
- Brûlée the sugar topping shortly before serving for the best crisp texture.
- Use a warm, clean knife for neat slices.
- Chilling time is 4 hours and is not included in the active total time.
Nutrition
- Serving Size: 1 slice
- Calories: 365
- Sugar: 18g
- Sodium: 70mg
- Fat: 25g
- Saturated Fat: 15g
- Unsaturated Fat: 8g
- Trans Fat: 0g
- Carbohydrates: 30g
- Fiber: 1g
- Protein: 5g
- Cholesterol: 210mg
Keywords: crème brûlée tart, vanilla custard tart, caramelized sugar dessert, French dessert, elegant tart recipe