Soft Sourdough Sandwich Bread
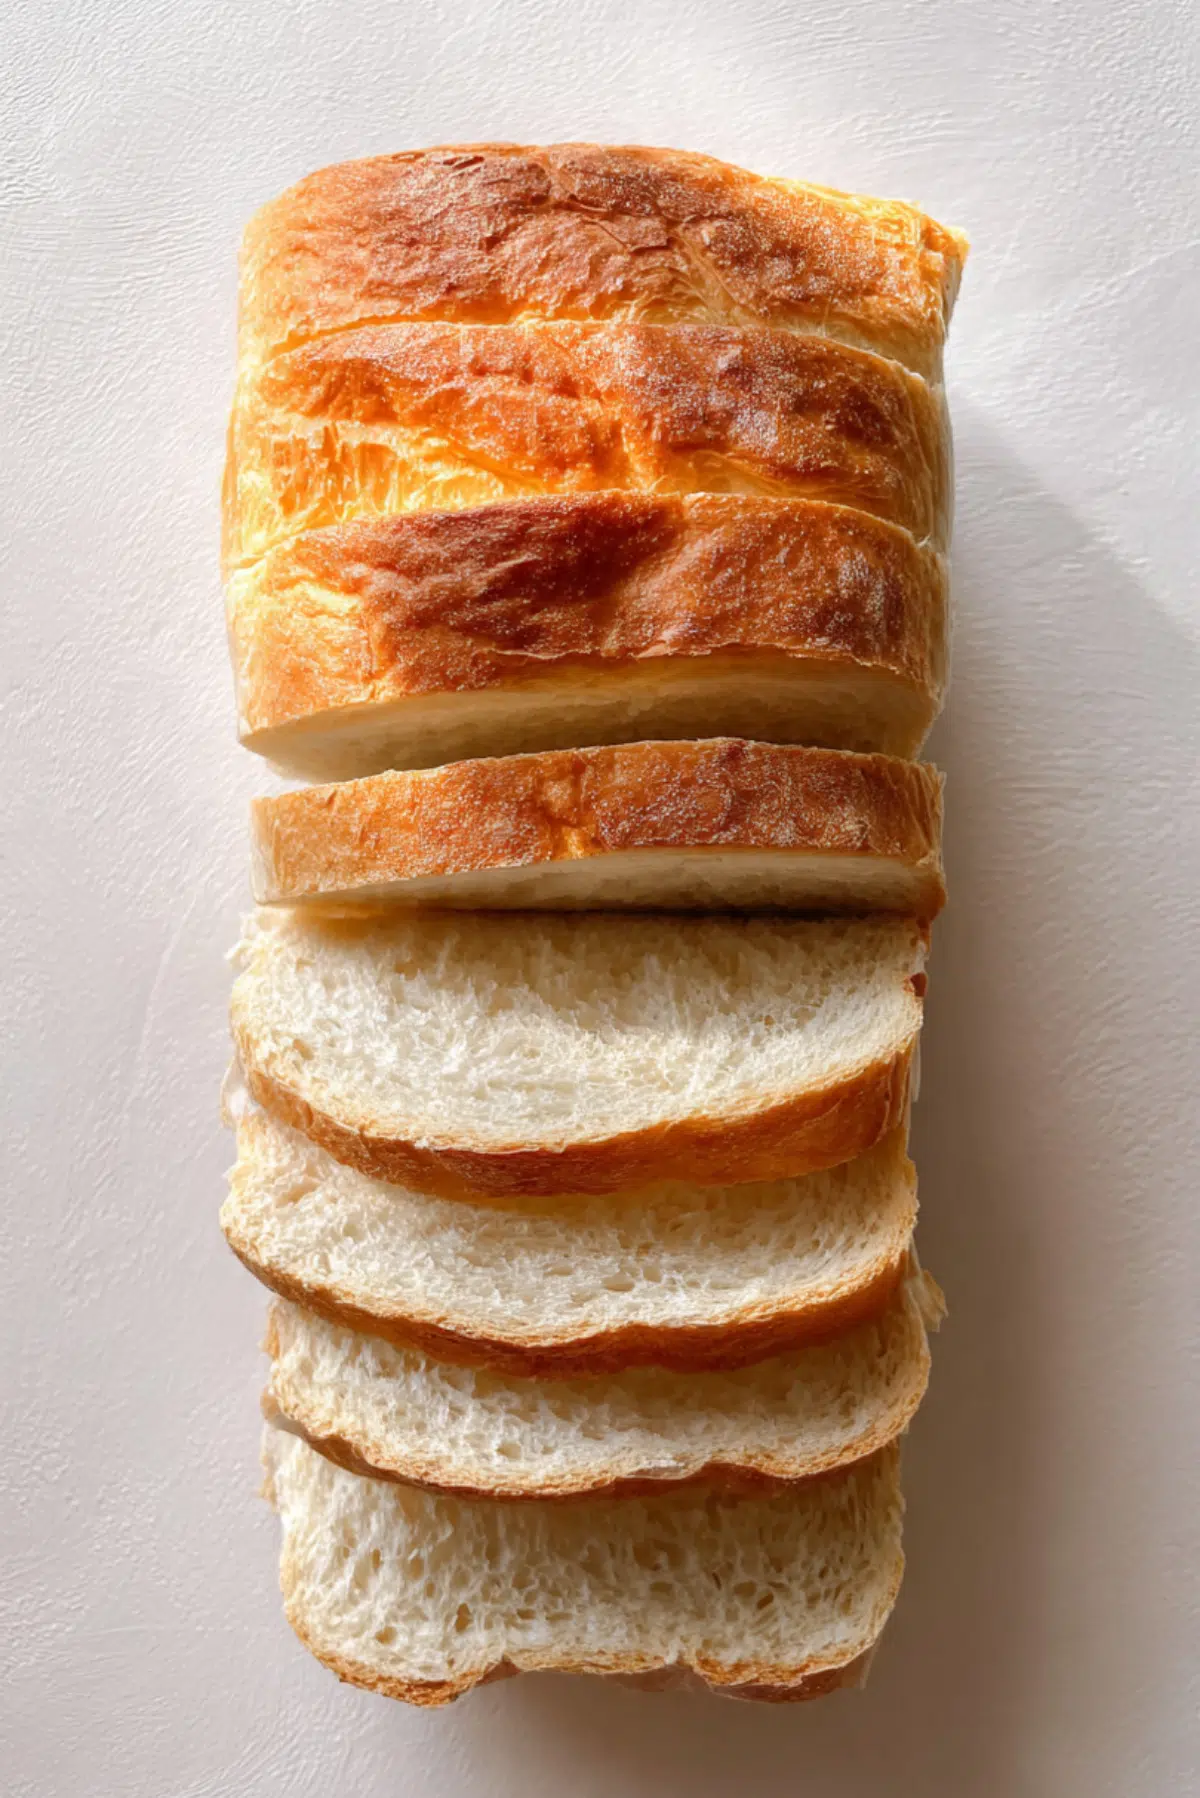
There is something quietly magical about pulling a loaf of soft sourdough sandwich bread out of the oven. The crust is lightly golden, the inside feels pillowy when you press it, and that gentle tang from the sourdough just lingers in the air. It is the kind of bread that turns a simple sandwich into something special. Trust me, you are going to love this.
Why This Bread Feels Like a Warm Hug in Every Slice
This bread brings together everything we love about homemade baking. It is soft enough for sandwiches, sturdy enough for toast, and rich with that subtle sourdough depth that makes each bite feel complete. The aroma alone is enough to make your kitchen feel like a cozy bakery, and once you slice into it, you will see just how tender and airy it really is.
A Little Story Behind This Classic Loaf
Sourdough has been around for centuries, long before commercial yeast became common. Bakers relied on natural fermentation to create bread that was not only flavorful but also easier to digest. Over time, this traditional method met modern needs, and that is how soft sandwich-style sourdough came to life. It keeps the heritage alive while giving us the fluffy texture we crave for everyday meals.
Why This Recipe Just Works Every Single Time
Before we dive into mixing and kneading, let me tell you why this one is worth keeping.
Versatile: This loaf works beautifully for sandwiches, toast, or even a quick snack with butter and jam.
Budget-Friendly: The ingredients are simple pantry staples, which makes it easy to bake often.
Quick and Easy: For sourdough, this method is surprisingly approachable and not overly complicated.
Customizable: You can adjust sweetness, add seeds, or even shape it differently.
Crowd-Pleasing: Everyone loves soft bread, especially when it has that gentle sourdough flavor.
Make-Ahead Friendly: The dough can be prepped ahead and baked when you are ready.
Great for Leftovers: It stays soft and makes amazing toast the next day.
A Few Secrets from My Kitchen to Yours
Before we start, here are some tips that make all the difference.
- Let your sourdough starter be active and bubbly before using it
- Use warm milk and water to encourage a soft, tender crumb
- Do not rush the rising time, good fermentation builds flavor
- Knead until the dough feels smooth and slightly elastic
Tools That Make This Process So Much Easier
Having the right tools keeps everything smooth and enjoyable.
Mixing Bowl: Large enough to allow the dough to expand comfortably.
Loaf Pan: Helps shape the bread into that perfect sandwich form.
Dough Scraper: Makes handling sticky dough much easier.
Kitchen Scale or Measuring Cups: Ensures accurate ingredient amounts.
Clean Towel or Plastic Wrap: Keeps the dough covered during rising.
Ingredients That Come Together Like Magic
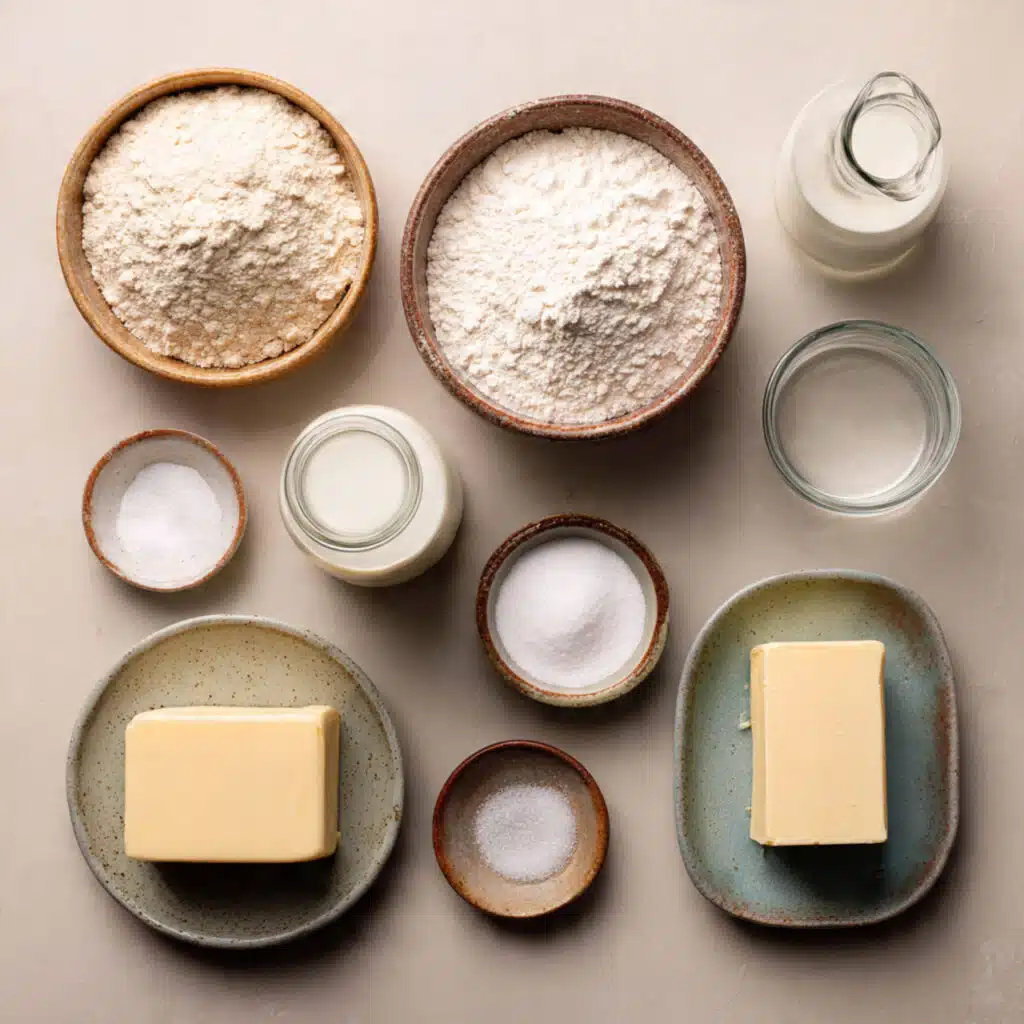
Now let us look at what goes into this beautiful loaf. Each ingredient plays its role perfectly.
- Bread Flour: 3 ½ cups, gives structure and that soft yet chewy texture
- Active Sourdough Starter: ½ cup, brings flavor and natural rise
- Warm Water: ¾ cup, hydrates the dough and helps fermentation
- Milk: ½ cup, adds richness and softness
- Sugar: 2 tablespoons, lightly sweetens and feeds the starter
- Salt: 1 ½ teaspoons, balances flavor and strengthens the dough
- Unsalted Butter: 3 tablespoons, softened, adds tenderness and moisture
Easy Swaps If You Want to Experiment
Sometimes you might want to tweak things a bit.
Milk: You can use plant-based milk like almond or oat.
Butter: Swap with olive oil for a slightly different texture.
Bread Flour: All-purpose flour works, though the texture may be slightly lighter.
The Star Ingredients That Make It Shine
Some ingredients really stand out here.
Sourdough Starter: This is the heart of the bread, giving it that signature flavor and natural rise.
Butter: It is what makes the crumb so soft and rich, almost melt-in-your-mouth.
Let’s Get Baking Step by Step
Alright, now let us bring everything together. Here are the steps you are going to follow.
- Preheat Your Equipment: Preheat your oven to 375°F (190°C) once the dough is ready to bake.
- Combine Ingredients: In a large bowl, mix the sourdough starter, warm water, milk, and sugar until smooth.
- Prepare Your Cooking Vessel: Grease your loaf pan lightly with butter or oil.
- Assemble the Dish: Add flour and salt to the mixture, then knead until a smooth dough forms. Incorporate the butter gradually and knead until fully absorbed.
- Cook to Perfection: Let the dough rise until doubled, shape it into a loaf, place it in the pan, let it rise again, then bake for about 30 minutes until golden.
- Finishing Touches: Remove from the pan and let it cool on a rack before slicing.
- Serve and Enjoy: Slice and enjoy soft, fluffy bread that is perfect for any meal.
The Texture and Flavor That Make It Irresistible
Once baked, the crust has a delicate golden finish while the inside stays soft and airy. The flavor is mildly tangy with a hint of sweetness, which makes every bite balanced and comforting. The butter adds richness, while the sourdough gives it that subtle depth you cannot get from regular bread.
Helpful Tips to Make It Even Better
- Let the bread cool fully before slicing to keep the texture intact
- Brush the top with butter after baking for extra softness
- Store in a sealed bag to maintain freshness
What to Watch Out for While Baking
Even simple recipes have a few tricky spots.
- Dense texture: Usually means the dough did not rise enough
- Too sour: Starter may have been overly fermented
- Dry crumb: Overbaking can cause this, so keep an eye on timing
A Quick Look at the Nutrition
Servings: 10 slices
Calories per serving: 180
Note: These are approximate values.
Timing Everything Just Right
Prep Time: 20 minutes
Cook Time: 30 minutes
Total Time: 50 minutes
Make It Ahead and Store It Like a Pro
You can prepare the dough ahead and let it rise slowly in the fridge overnight. Once baked, store the loaf in an airtight container at room temperature for up to three days. For longer storage, slice and freeze, then toast when needed.
Serving Ideas That Make It Even More Enjoyable
This bread pairs beautifully with butter, jam, or even savory spreads. It makes excellent sandwiches, from classic grilled cheese to hearty chicken fillings.
Turning Leftovers Into Something New
If you have extra slices, do not worry.
Use them for French toast, breadcrumbs, or even croutons for salads. Each option brings out a different side of the bread.
A Few Extra Tips for Best Results
Keep your starter active and healthy, and always give your dough enough time to rise. Good bread cannot be rushed, but the result is always worth it.
Make It Look as Good as It Tastes
For a beautiful finish, brush the top with butter and slice evenly. A neat stack of slices already looks inviting and ready to serve.
Fun Variations You Can Try
- Add sesame or sunflower seeds for texture
- Mix in herbs for a savory twist
- Use honey instead of sugar for a deeper sweetness
- Shape into rolls instead of a loaf
FAQ’s
1. Can I use all-purpose flour instead of bread flour?
Yes, but the texture will be slightly softer and less chewy.
2. How do I know my starter is ready?
It should be bubbly and doubled in size after feeding.
3. Can I skip the second rise?
It is not recommended, as it helps create a light texture.
4. Why is my bread dense?
It likely did not rise enough or was under-kneaded.
5. Can I freeze the dough?
Yes, after the first rise, then thaw before shaping.
6. How do I store the bread?
Keep it in an airtight container at room temperature.
7. Can I make it sweeter?
Yes, add a bit more sugar or honey.
8. What makes it soft?
The milk and butter contribute to the soft crumb.
9. Can I bake it without a loaf pan?
Yes, shape it free-form, though it may spread more.
10. How long does it stay fresh?
About three days at room temperature.
Conclusion
This soft sourdough sandwich bread is one of those recipes that quietly becomes a staple. It is simple, comforting, and full of character. Once you bake it, you will find yourself coming back to it again and again. Let me tell you, it is worth every bite.
Print
Soft Sourdough Sandwich Bread
- Prep Time: 20 minutes
- Cook Time: 30 minutes
- Total Time: 50 minutes
- Yield: 10 slices 1x
- Category: Bread
- Method: Baking
- Cuisine: International
- Diet: Vegetarian
Description
A soft and fluffy sourdough sandwich bread with a light golden crust and a tender, airy crumb, perfect for everyday sandwiches and toast.
Ingredients
- 3 ½ cups bread flour
- ½ cup active sourdough starter
- ¾ cup warm water
- ½ cup milk
- 2 tablespoons sugar
- 1 ½ teaspoons salt
- 3 tablespoons unsalted butter, softened
Instructions
- In a large bowl, mix the sourdough starter, warm water, milk, and sugar until smooth.
- Add bread flour and salt, then mix until a dough forms.
- Knead the dough until smooth and slightly elastic.
- Gradually incorporate the softened butter and continue kneading until fully absorbed.
- Cover and let the dough rise until doubled in size.
- Shape the dough into a loaf and place it into a greased loaf pan.
- Let it rise again until it puffs up and fills the pan.
- Preheat the oven to 375°F (190°C).
- Bake for about 30 minutes until the top is golden brown.
- Remove from the pan and let cool on a rack before slicing.
Notes
- Make sure your sourdough starter is active and bubbly for best results
- Do not rush the rising time to achieve a soft texture
- Brush the top with butter after baking for extra softness
- Allow the bread to cool completely before slicing
Nutrition
- Serving Size: 1 slice
- Calories: 180
- Sugar: 3g
- Sodium: 220mg
- Fat: 5g
- Saturated Fat: 3g
- Unsaturated Fat: 2g
- Trans Fat: 0g
- Carbohydrates: 30g
- Fiber: 1g
- Protein: 5g
- Cholesterol: 15mg
Keywords: soft sourdough sandwich bread, homemade sourdough bread, fluffy sandwich loaf, sourdough baking